Struggling with how to create a shortcode button in WordPress? Shortcode buttons are super convenient for quickly inserting stylish, attention-grabbing buttons in your WordPress content. But WordPress doesn’t include any functionality to create a shortcode button by default.
To help, I’m going to show you two different ways to create a shortcode button in WordPress.
First, I’ll show you how to do it using your own code. Then, I’ll show you a more beginner-friendly method using a plugin.
How To Manually Create A Shortcode Button In WordPress With Code
This method is not very beginner-friendly, so we don’t recommend it for people without at least a basic understanding of CSS.
That’s because, while we can give you the exact PHP code snippet that you need, you’ll need to be able to figure out the CSS by yourself to make the button actually look how you want it to.
If you don’t know what CSS is, you should probably skip ahead to the plugin method in the next section.
Otherwise, let’s continue!
Step 1: Add PHP For Button Shortcode
To get started, you need to add a PHP code snippet that creates your button shortcode. We recommend that you put this code snippet into a plugin like Code Snippets. But you can also use your child theme’s functions.php file:
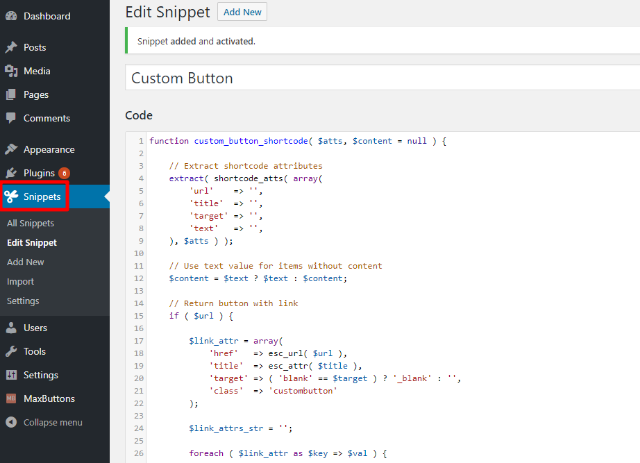
Essentially, this code snippet creates a new [custombutton] shortcode. When you use that shortcode, you can specify a link and title (as well as whether not to open it in a new tab).
Then, you can style the button by using the custombutton CSS class.
Step 2: Test Button Shortcode
After you’ve added the above code snippet, try creating a new button following the format below to test if your shortcode button is working:
[custombutton url="https://maxbuttons.com/" target="self" text="Go To MaxButtons"]

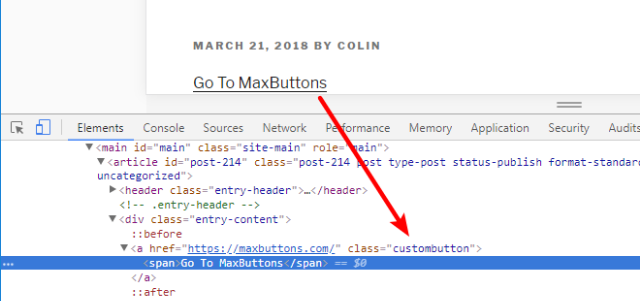
When you publish or preview the post, you should see a link that has the custombutton CSS class (you can verify this by looking at the source code):
Step 3: Add CSS Styling For custombutton Class
At this point, your button shortcode is working. But you aren’t seeing any styling because you haven’t added styling for the custombutton CSS class yet.
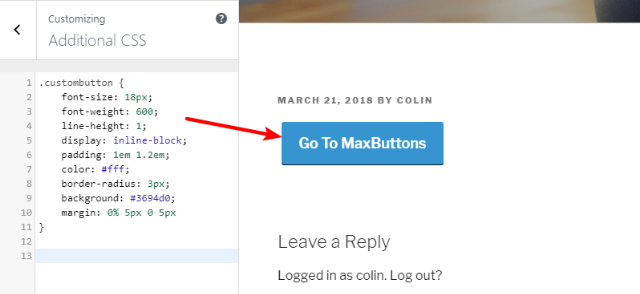
So to finish things out, you just need to add some CSS, which you can do via the Additional CSS option in the WordPress Customizer.
For example, here’s how the button looks with some basic CSS styling added:
How To Create A Shortcode Button In WordPress With MaxButtons
MaxButtons is a free WordPress plugin that makes it easy to create one or more shortcode buttons without the need for any special coding knowledge (which the manual method requires).
Instead, you build your button using the plugin’s beginner-friendly interface. Then, you can reuse that button as many times as you want with different combinations of button text/URLs.
To get started, install and activate the free MaxButtons plugin. Then, follow the tutorial below…
Step 1: Create A New Button
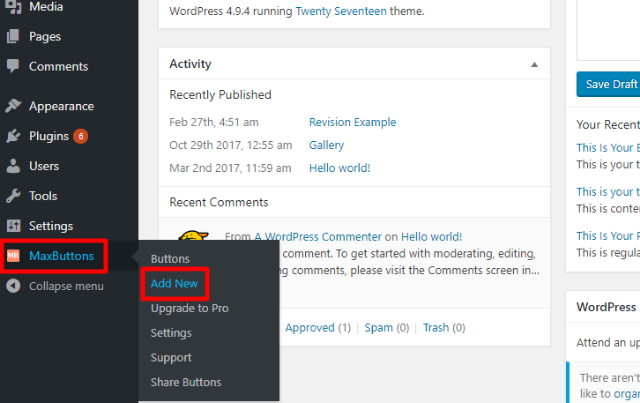
To create your first button, go to MaxButtons → Add New:
That will take you to the Button Editor.
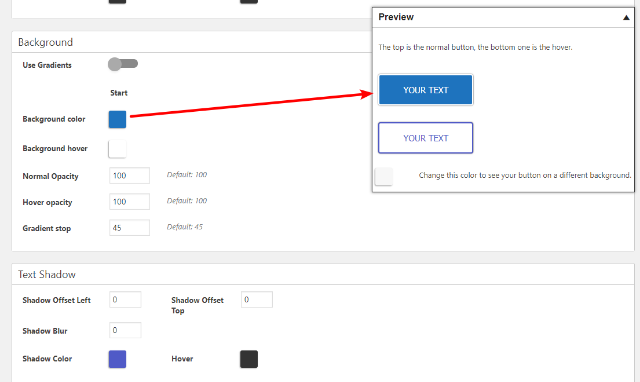
Step 2: Configure Your Button
The Button editor is simple to use and entirely code-free. Essentially, you use the options on the left to configure your button’s styling and functionality. Then, you can see a live preview of what each change does on the right side of the screen:
If you want a more in-depth look at some of the settings in this section, we recommend that you read our complete guide to creating buttons with MaxButtons. It goes through each section option by option.
Once you’ve finished styling your button, make sure to save your changes
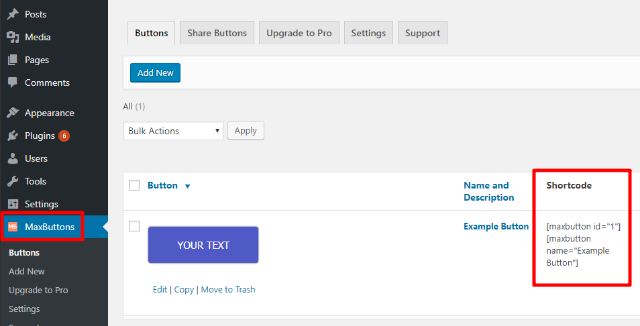
Step 3: Insert Button With Shortcode
To access your button’s shortcode, you can either click on the main MaxButtons option in your WordPress dashboard sidebar:
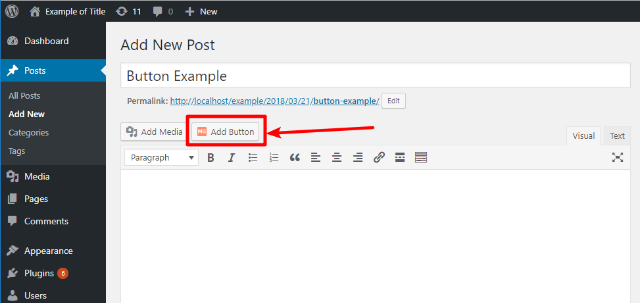
Or, you can use the new Add Button button in the WordPress editor:
Once you click the button, you select your button and click Insert Button into Editor:
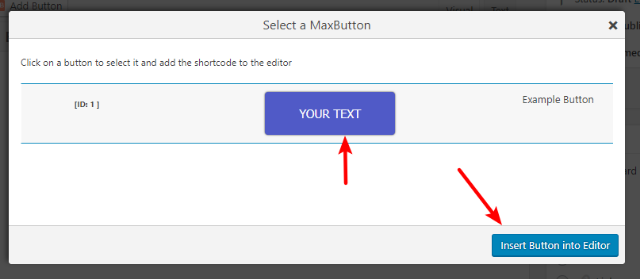
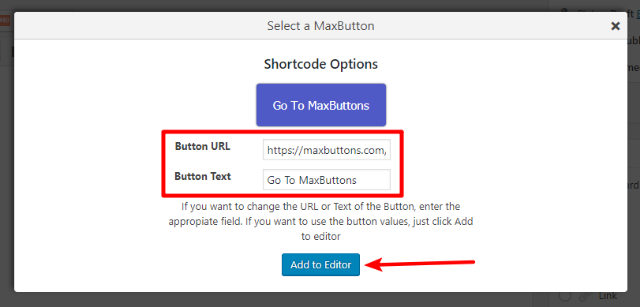
Then, you can enter the actual URL and button text that you want to use for this specific instance of your button (this is what allows you to reuse the same shortcode button for different URLs/texts):
And that’s it! When you publish your post or page, you should see the actual button on the front-end.
To reuse the same button in different places, just repeat this step*. And you can always create additional button styles by repeating the entire process!
*You can also skip the Add Button interface and manually input the shortcode by following the same url=”URL” text=”TEXT” format.
Final Thoughts On Creating Shortcode Buttons In WordPress
As you can see, the manual method doesn’t add any new functionality and complicates the process a good bit. And even after finishing the manual implementation, you still insert buttons in an identical manner to MaxButtons.
For that reason, using MaxButtons will not only save you time and eliminate the need for custom CSS, but it will also make it a lot easier to create multiple different buttons as needed.
No matter which method you prefer, we hope you found this tutorial helpful. Enjoy your new buttons!