WordPress Share Buttons is a free extension for MaxButtons that lets you add social share buttons to various locations on your WordPress site.
With the plugin, you can:
- Choose from 7 stylish share button sets
- Turn share buttons on or off for individual post types and/or individual posts
- Manually configure which link gets shared when a user clicks the share button
- Showcase individual and total share counts, including specifying a minimum share count
- Add pre-populated Twitter hashtags and usernames on a default or per-post basis
In this post, we’re going to show you everything you need to know to take advantage of those features and use WordPress Share Buttons on your site.
What You Need To Get Started With WordPress Share Buttons
Because WordPress Share buttons is an add-on for our popular MaxButtons plugin, you’ll need both MaxButtons and WordPress Share Buttons installed for the plugin to function.
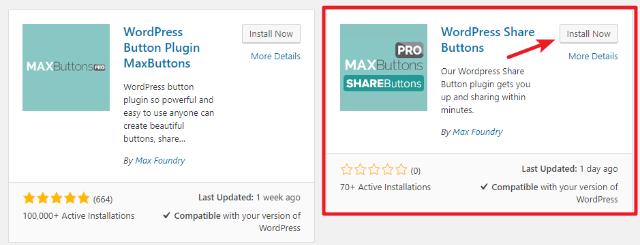
To get started with WordPress Share Buttons, you can install it directly from your WordPress dashboard by going to Plugins → Add New and searching for “WordPress Share Buttons MaxButtons”:
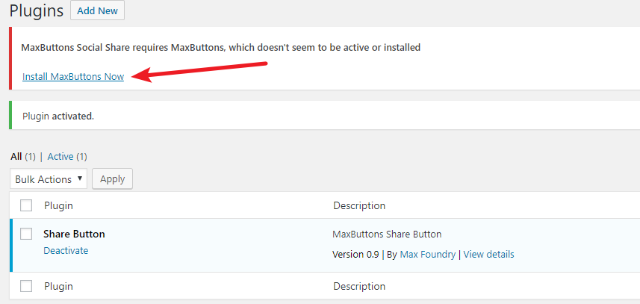
Once you activate WordPress Share Buttons, it will prompt you to install the separate MaxButtons plugin (assuming you haven’t already installed MaxButtons). To do so, you can click the Install MaxButtons Now link:
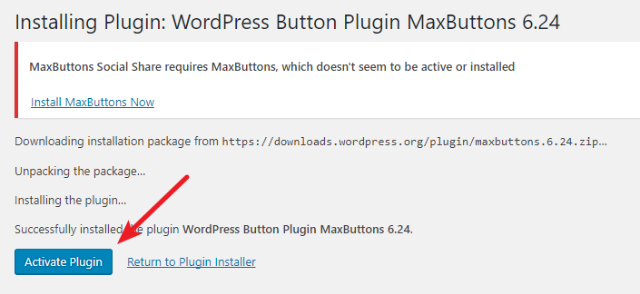
After clicking the link, WordPress will automatically install MaxButtons for you. To complete the process, all you need to do is click the Activate Plugin button:
And that’s it! You’re ready to start creating share buttons for your WordPress site.
How To Configure WordPress Share Buttons
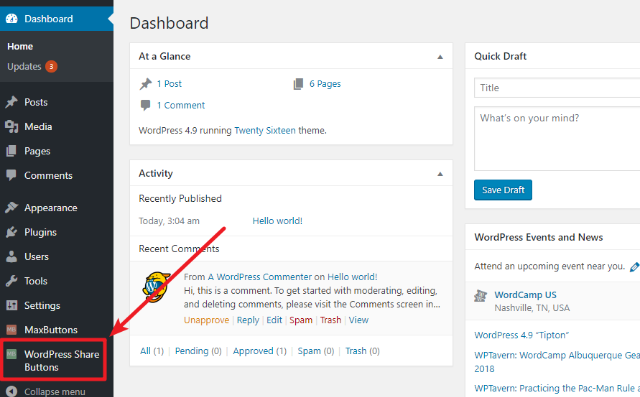
After activating the plugin, you can configure it by going to the new WordPress Share Buttons tab inside your WordPress dashboard:
Below, we’ll show you how to configure every setting.
General Section
The general section contains one simple option:
A toggle to turn WordPress Share Buttons On (green) or Off (grey):
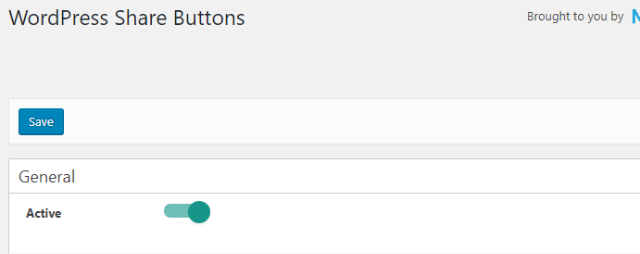
By default, the plugin is turned On – but that doesn’t mean you’ll see your share buttons quite yet. Before your share buttons appear, you’ll need to configure your Display Options (more on these in a second).
Social Networks Section
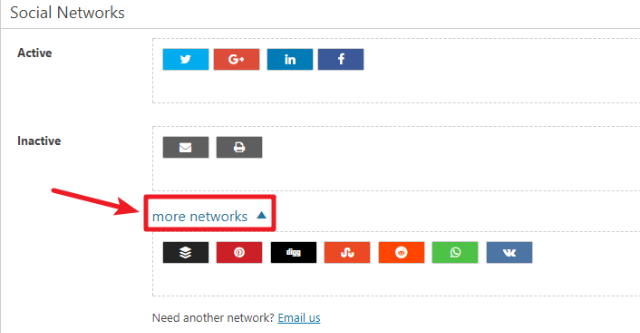
In this section, you can choose which social networks you want to include in your list of share buttons. By default, the plugin includes:
To add a new social network, all you need to do is drag the icon from the Inactive box to the Active box:

Similarly, you can remove a social network by dragging its icon from the Active box to the Inactive box.
And you can also use drag and drop to change the actual order of the icons:
Finally, to access additional social networks, you can click the more networks button:
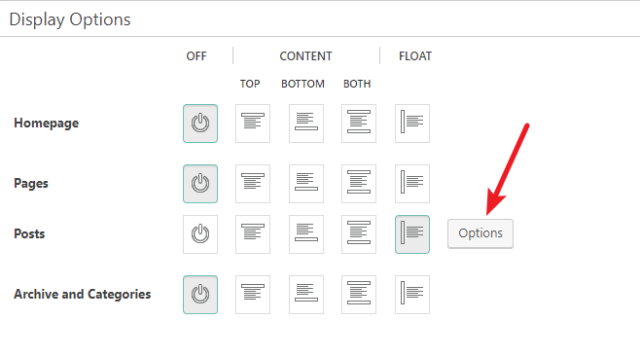
Display Options Section
The Display Options section lets you configure where to display your share buttons for the various areas of your site:
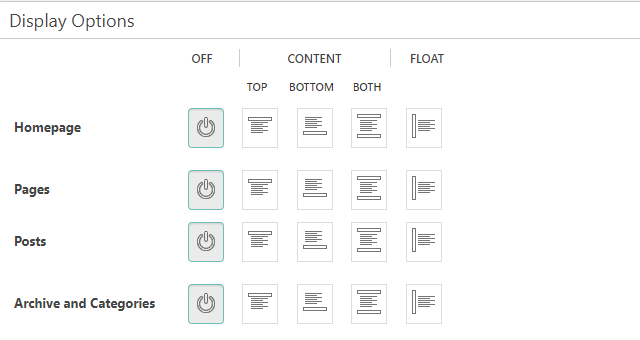
You can configure different display locations for your:
- Homepage
- Pages
- Posts – this applies to individual blog posts.
- Archive and Categories – this includes the list of all your blog posts (i.e. blog archive page).
Additionally, if you’re using custom post types, you’ll also be able to configure them here.
For each location, you have three core display options:
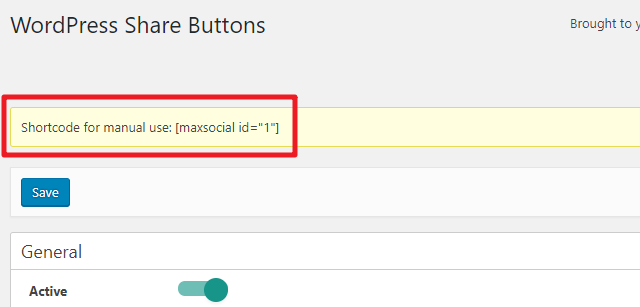
Off / Manual – your share buttons will not automatically display, but you can manually display them anywhere on your site by using a shortcode that’s shown after saving your buttons:
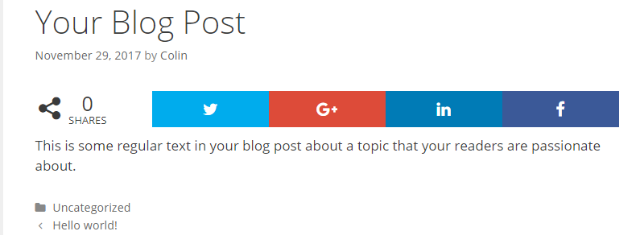
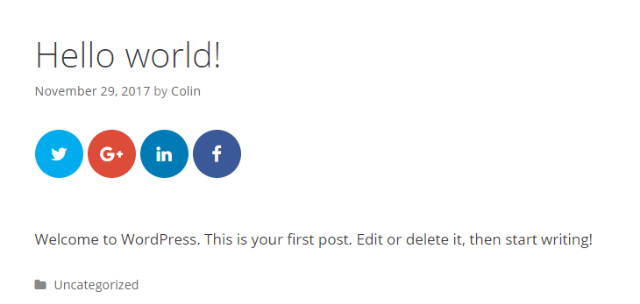
Content – your share buttons will display in line with your content. You can choose to display them at the top of your content, at the bottom, or at both the top and bottom.
Here’s what the Top display position looks like:
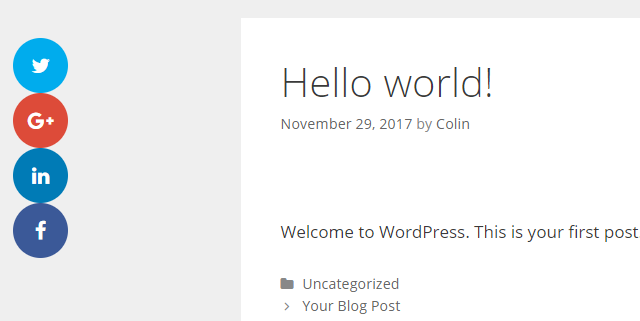
Float – your share buttons will display at an exact position that you choose (usually to the right or left of the content). You can also make the buttons “sticky” so they’re always visible as a user scrolls.
Here’s an example of the Float option:
For the Content and Float positions, you can also configure additional options by clicking the Options button:
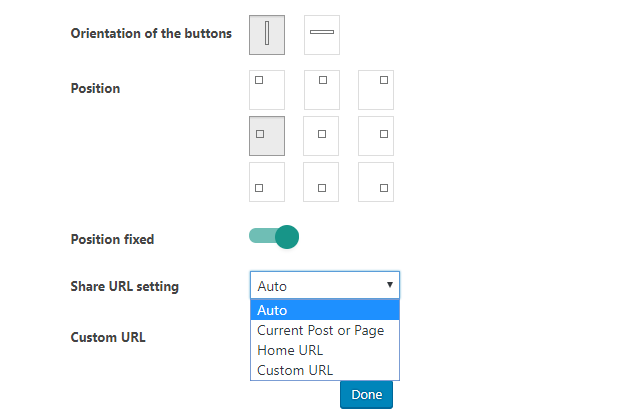
This button will open a popup that lets you configure:
- The orientation of your buttons – you can either choose to display buttons horizontally or stack them vertically.
- Where to position your buttons – the icon for each option indicates its rough location on the page.
- Position fixed – for Float only – when turned On, it makes the button “sticky” so that it’s always visible even if a user scrolls.
- The default URL to share when a user clicks the button – normally, you’ll want to leave this as Auto or Current Post or Page, but you can choose a custom URL if desired. You can also configure this for individual posts using the WordPress Share Buttons meta box (more on this later).
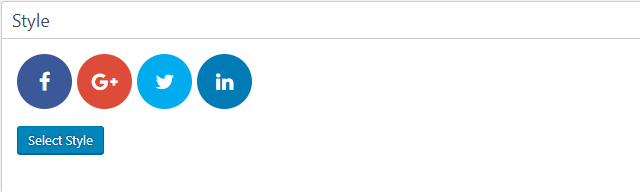
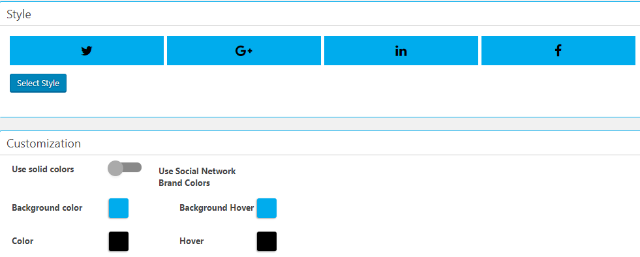
Style Section
In the Style section, you can choose the basic design style for your buttons. Then, in the next section, you’ll be able to customize this base style.
To get started, click the Select Style button to open the interface:
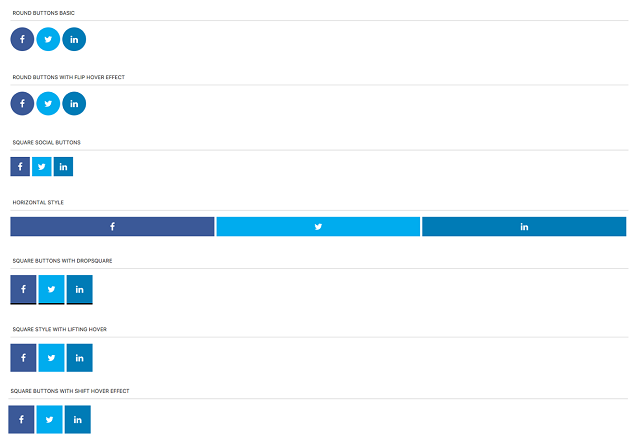
From there, you can see all the available styles.
To select a style, just click on your desired style and then hit the Done button:
Customization Section
In the Customization section, you can change:
- The colors of your share buttons
- The positioning of your share buttons
Here is what the various options mean:
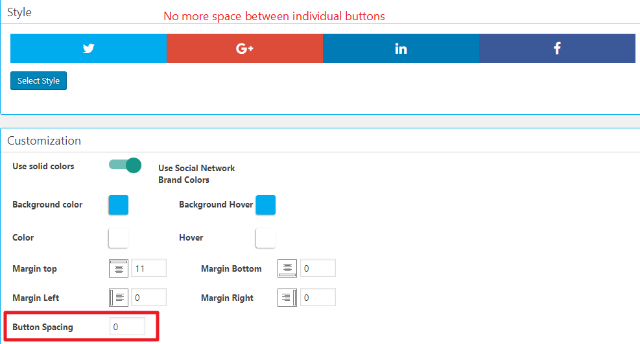
- Use solid colors / Use Social Network Brand Colors – this determines the background color of your share buttons. When turned On, it will use the actual brand colors for the social networks (as pictured above). When turned Off, you can choose your own background colors.
- Background color / Background Hover – these allow you to choose a solid background color if you disable the Use Social Network Brand Colors option.
- Color / Hover – these allow you to change the color of the icon for each social network.
For example, you could use solid blue buttons with a black icon by configuring the settings like below:
- Margin – these let you add a margin to each side of your buttons. Using top or bottom margins is especially helpful to control the spacing between your share buttons and the text of your post when using the top or bottom display positions. And using the right or left margins is helpful to adjust your share buttons’ positioning when you’re using the float position.
- Button Spacing – this lets you change the space between each button.
For example, to make your buttons connect, you could set the Button Spacing to 0:
Share Count Options Section
The Share Count Options section lets you configure a few different options for share counts.
Here’s what each option means:
- Show Share Counts – when enabled, the plugin will show individual share counts for each social network.
- Minimum count to show shares – the plugin will not display a share count until the share count reaches this number. If you want to always display share counts, you can set this to 0.
- Show total count – when enabled, the plugin will show the aggregate share count for all social networks.
- Total Count Label – this lets you change the text that appears next to the total share count.
Here’s what your share buttons will look like with both types of share counts enabled:

Default Twitter Options Section
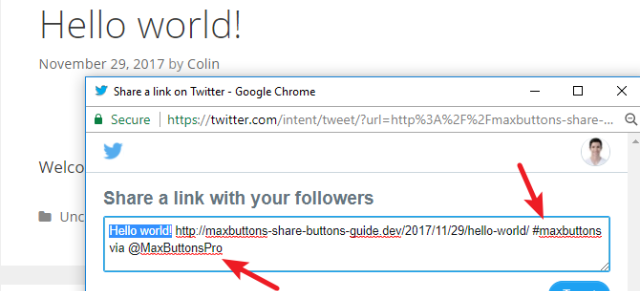
In the Default Twitter Options, you can add a default Twitter Handle and/or hashtags. These will show up in the pre-populated Tweet when a user clicks on the Twitter share button.
You can also customize both of these options on a per-post basis using the WordPress Share Buttons meta box (more on this in a second).
For example, if you configured them like this:

Then, the pre-populated tweet would include both the #hashtag and a Via @Mention:
How To Use The WordPress Share Buttons Meta Box For Individual Posts/Pages
Beyond the main configuration options, WordPress Share Buttons also adds a new meta box to the WordPress post and page editor screens. You’ll find this meta box somewhere underneath the WordPress text editor (the exact location will vary depending on the other plugins that you’re using):
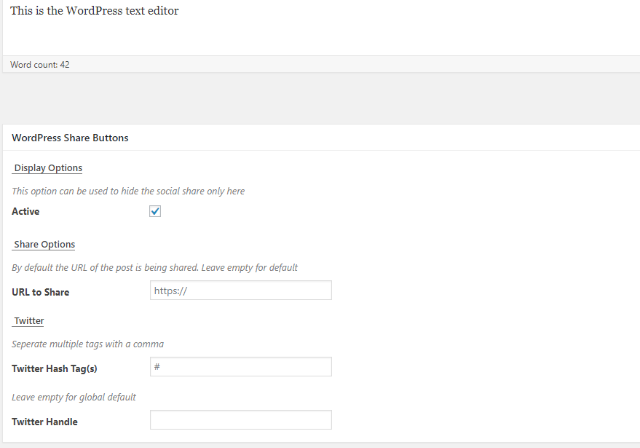
Here’s what you can do in the meta box:
- Active – if you uncheck this box, the share buttons will not appear on this specific piece of content.
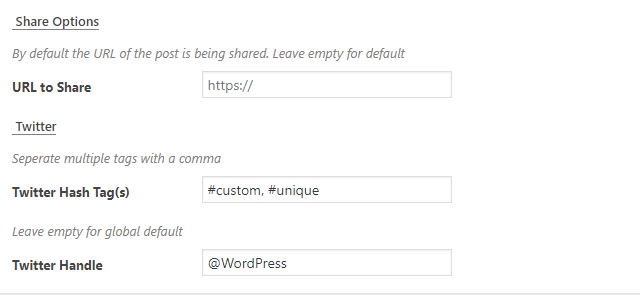
- URL to Share – by default, the plugin uses the actual URL of the post or page. But you can use this box to enter a custom URL if desired.
- Twitter Hashtag(s) – this box lets you enter Twitter hashtags to use for just this specific post. You can also use multiple hashtags by separating them with a comma.
- Twitter Handle – this box lets you enter a Twitter username to use for just this specific post. If left empty, it will use the default Twitter username that you entered in the main configuration options.
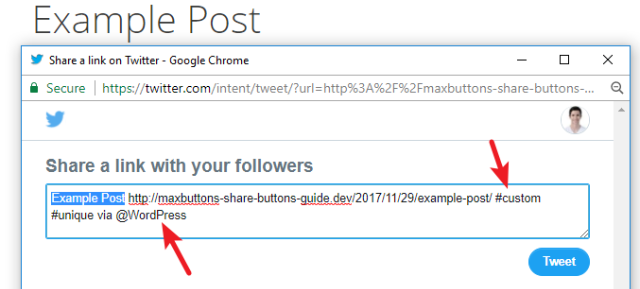
For example, if you configured it like this:
Then WordPress Share Buttons will override the global defaults to make the pre-populated Tweet look like this:
And that’s it! You now know everything there is to know about using WordPress Share Buttons to add social share buttons to your WordPress site.